Tutorial: test an API end to end
A real API test in six steps: log in, keep the token the server sends back, use it, create, change and delete data, check every answer, and clean up even when something fails. Then run it against another environment, and from the command line for CI.
The finished flow
examples/Help/tutorial.clem.json, with the project's environments in examples/Help/environments.json. It runs against dummyjson.com, a free test API that answers writes as if it saved them (it doesn't keep them).
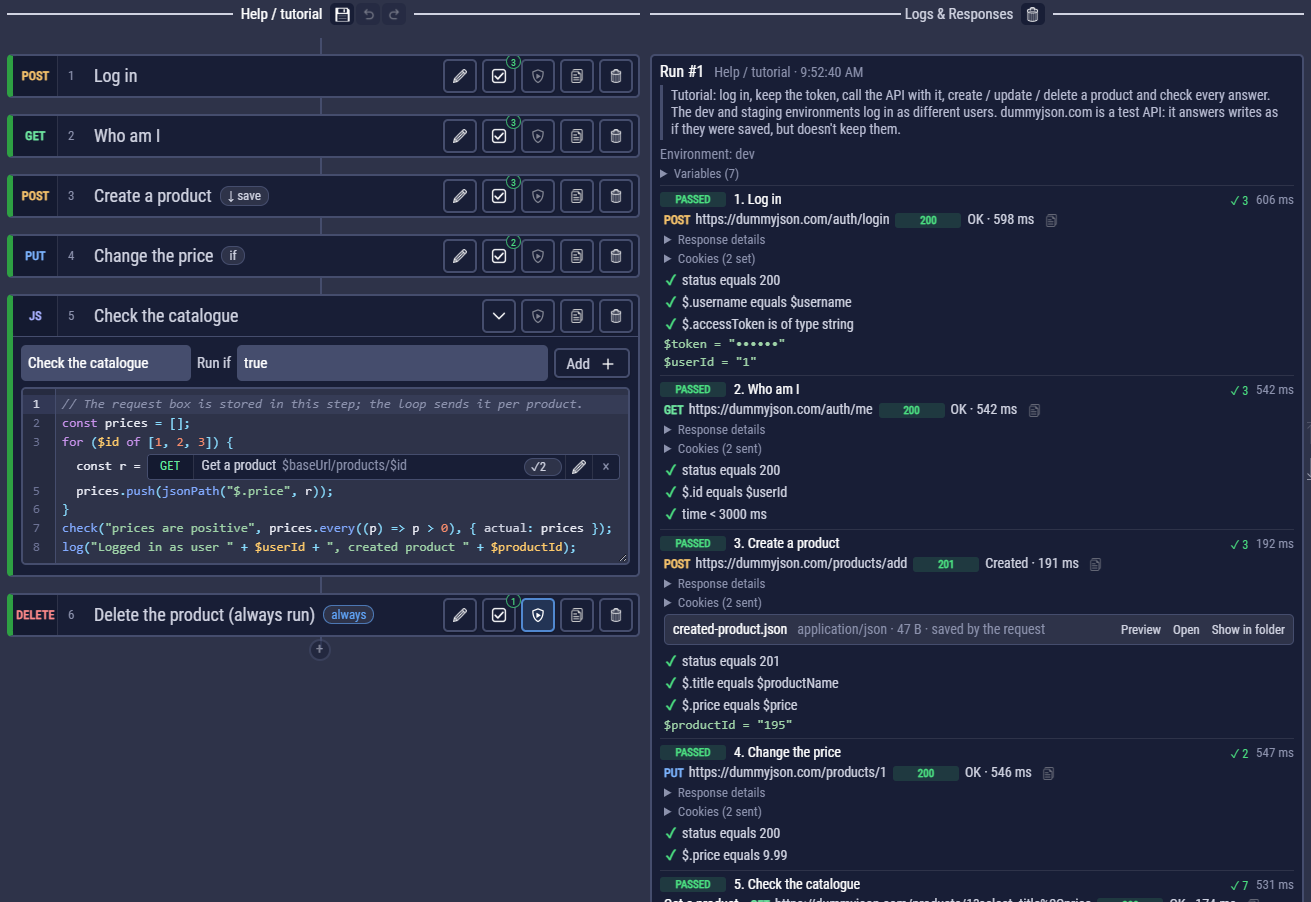
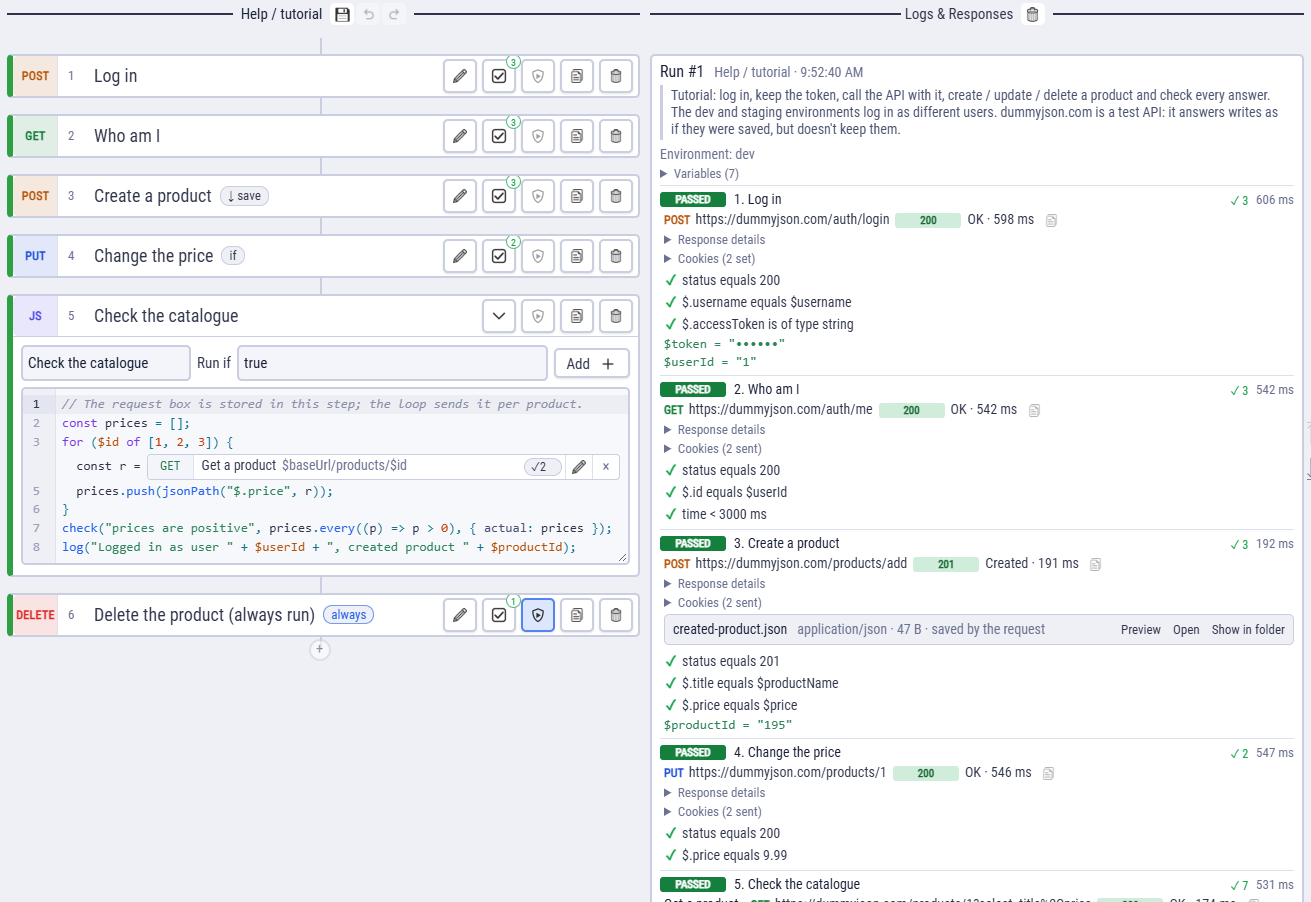
The plan
| # | Step | What it teaches |
|---|---|---|
| 1 | POST Log in | A JSON body with variables; extracting the token |
| 2 | GET Who am I | Bearer auth with the token; a check that compares with a variable |
| 3 | POST Create a product | Checking the status (201) and the JSON that comes back; saving the response to a file |
| 4 | PUT Change the price | Updating data, only if the product was created |
| 5 | Code: Check the catalogue | A code block that sends a request in a loop; jsonPath(), check() |
| 6 | DELETE Delete the product | Always run: cleanup that runs even after a failure |
1. Set up the environments
The values that change between targets (the API's address, the user to log in as) go into environments, so the same flow runs against dev and staging. Open the environment picker in the title bar → Manage environments… and add two environments:
| Variable | dev | staging |
|---|---|---|
| $baseUrl | https://dummyjson.com | https://dummyjson.com |
| $username | emilys | michaelw |
| $password | emilyspass | michaelwpass |
Pick dev in the title bar. In a real project the password would be a secret: encrypted on your computer and never written to the flow.
The flow's own values, the same everywhere, go into Variables: $productName = CLEM test mug and $price = 12.5.
2. Log in and keep the token
Add Request: name Log in, method POST, URL $baseUrl/auth/login. On the Body tab, send raw JSON and add the header Content-Type: application/json:
{
  "username": "$username",
  "password": "$password",
  "expiresInMins": 30
}
The server answers with a token. On the Extract tab, Extract variable keeps it for the next steps: the text between before and after goes into a variable.
| Variable | Before | After | From |
|---|---|---|---|
| $token | "accessToken":" | " | Body |
| $userId | "id": | , | Body |
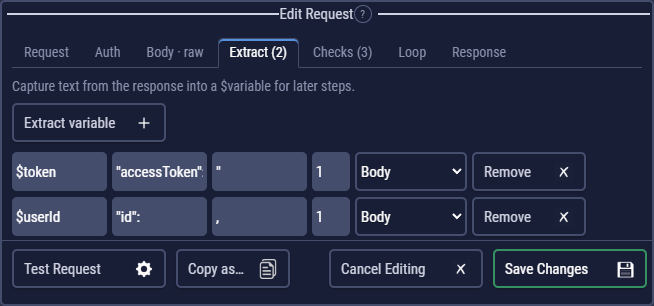
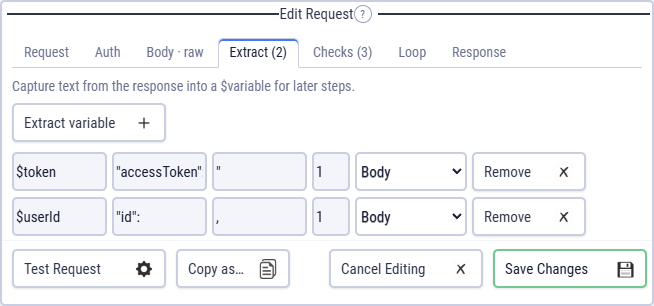
On the Checks tab: status equals 200, JSON path $.username equals $username, and $.accessToken is of type string. Click Test Request to see the response, what each extraction captures and which checks pass, before you save.
3. Use the token
Add a request Who am I: GET $baseUrl/auth/me. On its Auth tab pick Bearer token and type $token; CLEM sends Authorization: Bearer …. Check that $.id equals $userId: the server agrees on who we are. Add a Time (ms) check below 3000 to catch a slow API.
When every request uses the same auth, set it once in Flow Settings → Auth for every request; requests inherit it.
4. Create, change, delete
Create a product: POST $baseUrl/products/add with this body. Numbers without quotes stay numbers:
{
  "title": "$productName",
  "price": $price
}
Checks: status equals 201, $.title equals $productName, $.price equals $price. Extract $productId from "id": to ,. On the Response tab, tick Save the response body to a file and name it created-product.json: each run keeps a copy in its output folder, and the step shows a ↓ save chip.
Change the price: PUT $baseUrl/products/1 with { "price": 9.99 }, and check $.price equals 9.99. Set its Run Conditional to $productId: the step runs only when the create returned an id, and shows an if chip.
Delete the product: DELETE $baseUrl/products/1, checking $.isDeleted equals true. Click the shield on this step to make it always run: when an earlier step fails, the run skips everything else but still cleans up.
5. Add a code step
Some checks are easier to write than to click. Insert an Add Code Block step before the delete (hover between the two steps → +):
// The request box is stored in this step; the loop sends it per product.
const prices = [];
for ($id of [1, 2, 3]) {
  const r = await request("rq_product");
  prices.push(jsonPath("$.price", r));
}
check("prices are positive", prices.every((p) => p > 0), { actual: prices });
log("Logged in as user " + $userId + ", created product " + $productId);
The request("rq_product") line is a request stored in the step, drawn as a request box in the code. To add one, put the cursor on the for line and click Add → Request; then click the box and make it Get a product: GET $baseUrl/products/$id with the parameter select = title,price, checking status equals 200 and $.id equals $id. The loop sends it three times, each with its own checks in the log. Requests inside code.
check() adds a pass / fail line to the log like any check. Every helper.
6. Run it
Run Flow (F5). Every step goes green, and the log shows each request with its checks. Now pick staging in the title bar and run again: the flow logs in as Michael instead of Emily, with no change to the flow.
To see the cleanup at work, break a check (say, expect $.price to equal 1) and run: the run stops at the failed step, skips the code step, and the delete still runs.
Want a shareable result? The arrow on Run Flow → Run flow with report writes an HTML report you can open in any browser. Reports.
7. Run it in CI
Save the flow, then Export → This flow. CLEM writes a standalone Node.js script plus a package.json. In that folder:
npm install
node tutorial.js                       # the selected environment (dev)
node tutorial.js --env staging         # another one
node tutorial.js --junit results.xml --report report.html
The script exits with 0 when the flow passed and 1 when it failed, so any CI system can use it. Export and CI has a GitHub Actions example.
What you used
- Environments for the values that change per target, variables for the flow's own.
- Extraction to carry values from one response to the next request.
- Checks on status, time and JSON paths; code for the rest.
- Bearer auth, and Always run for cleanup.
- Export for CI.